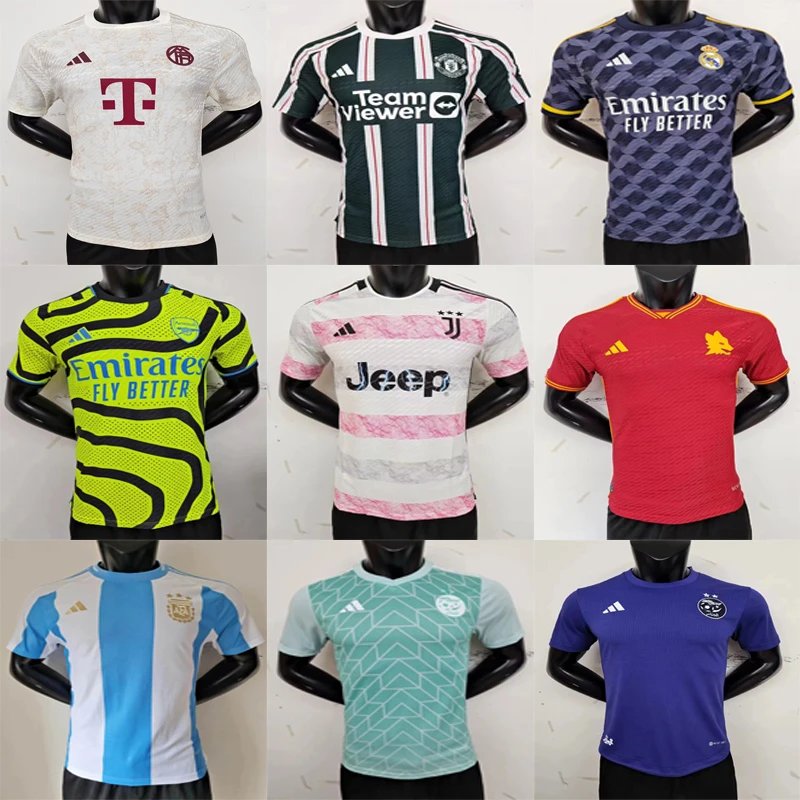
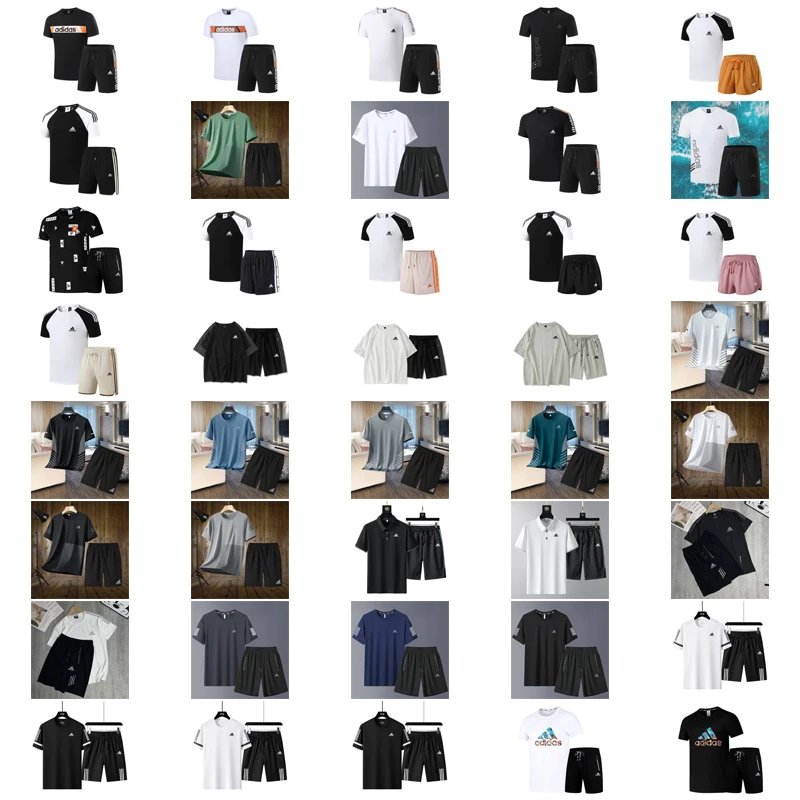
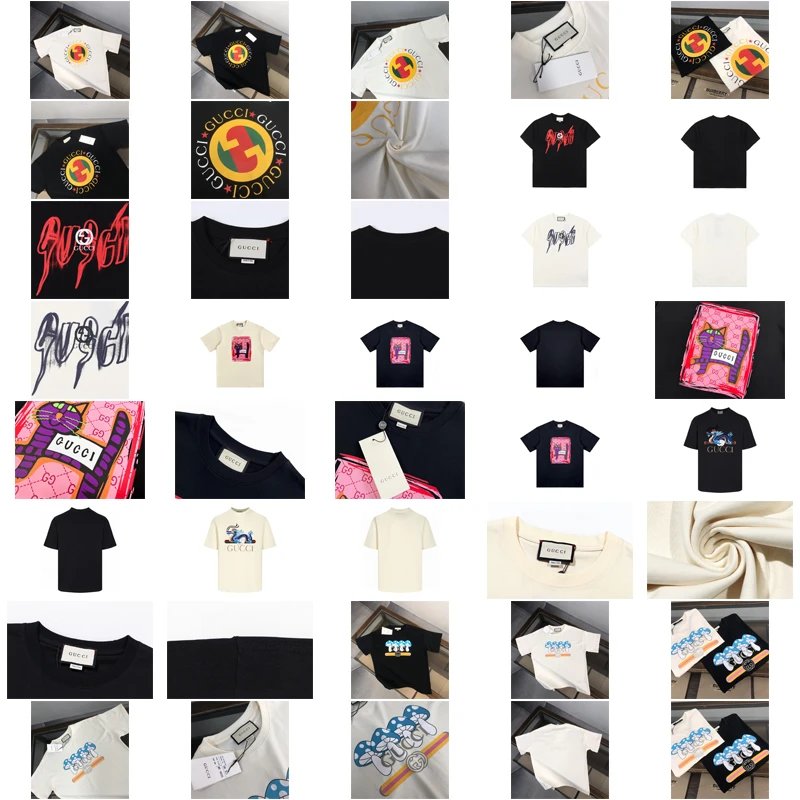
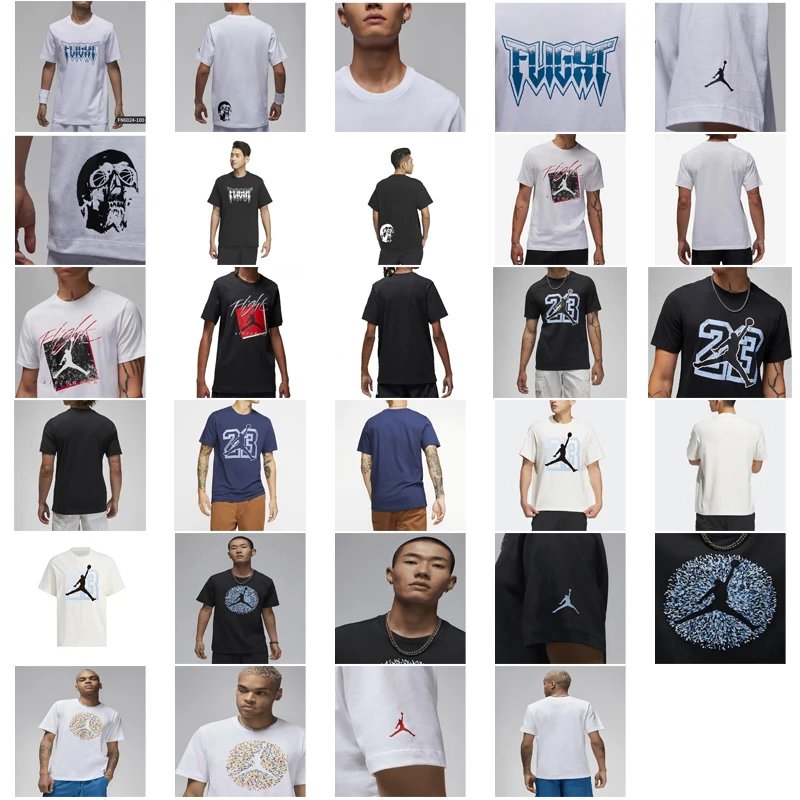
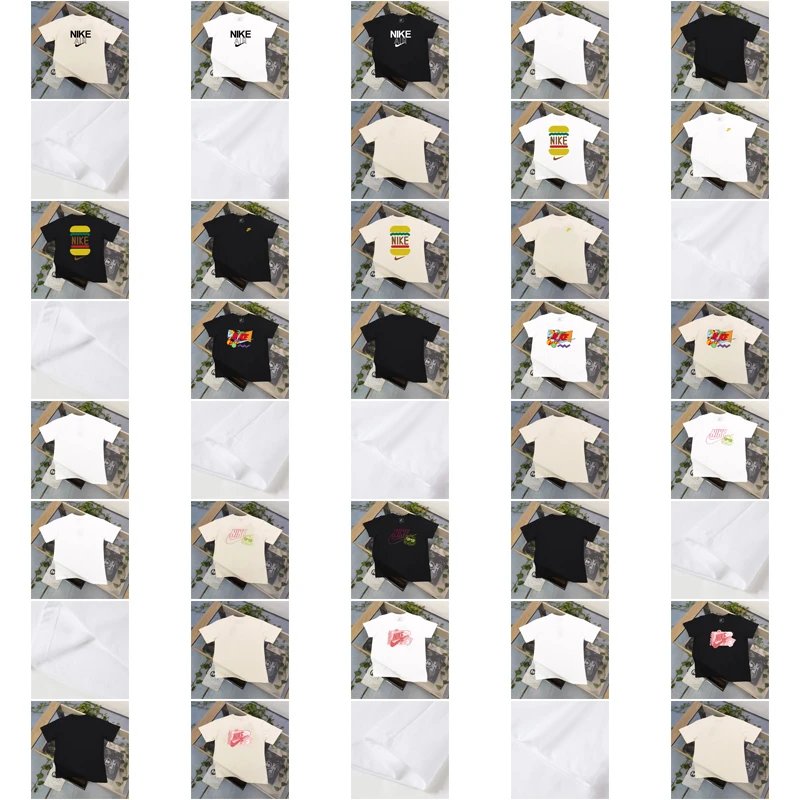
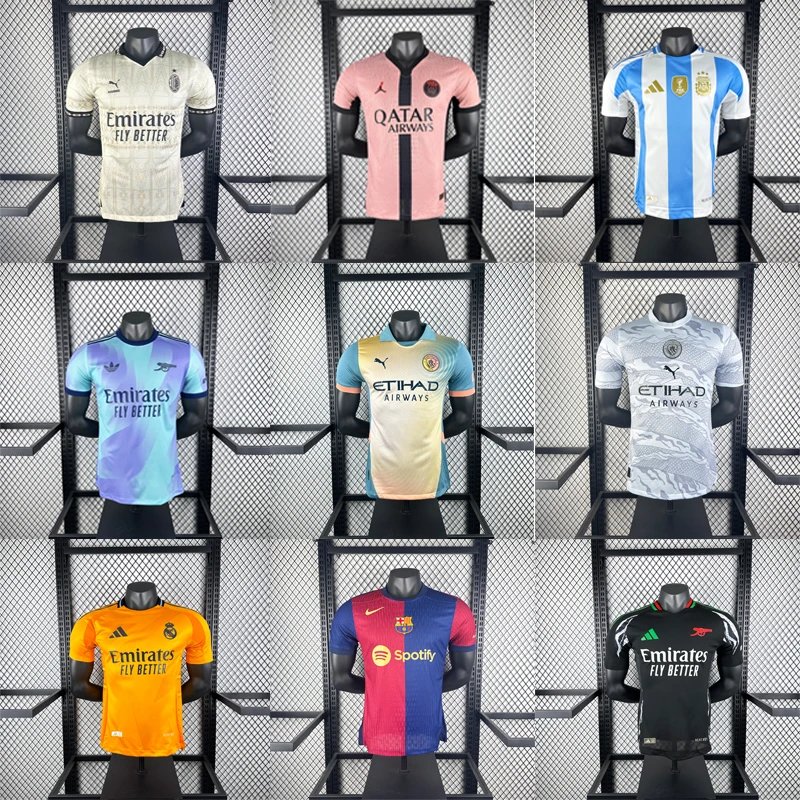
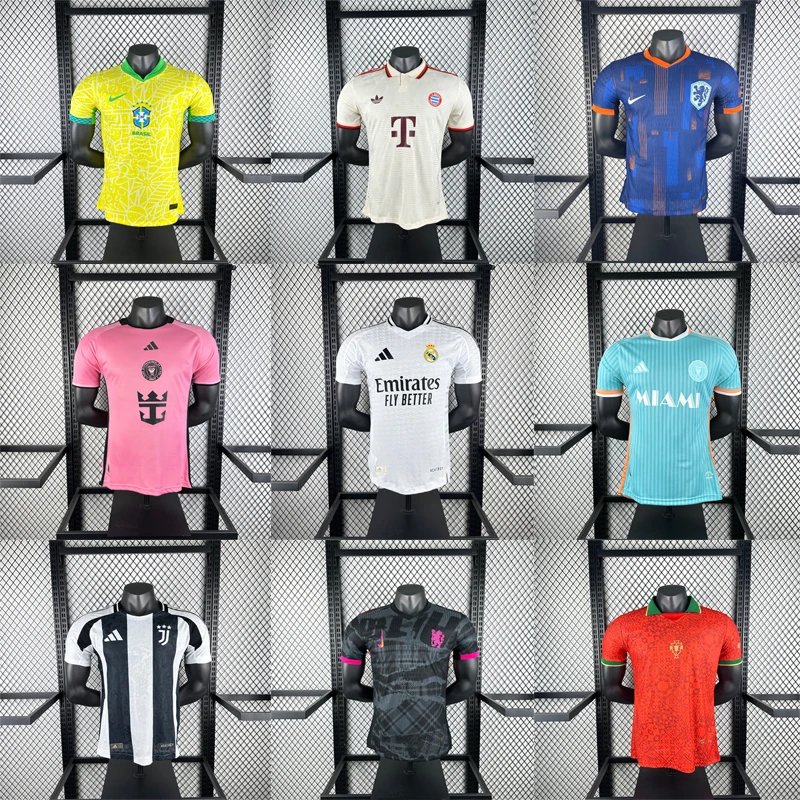

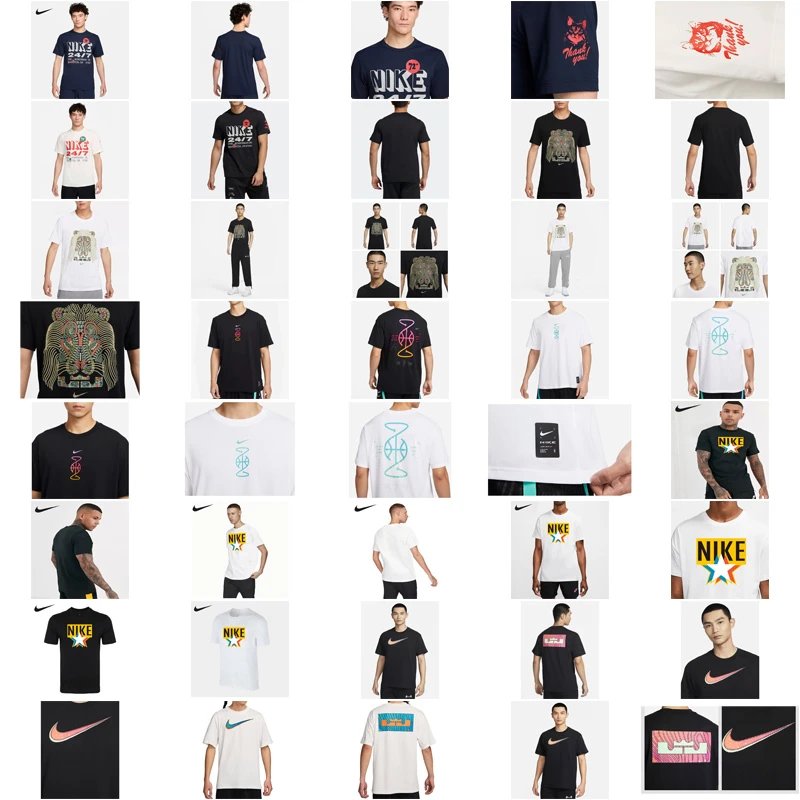
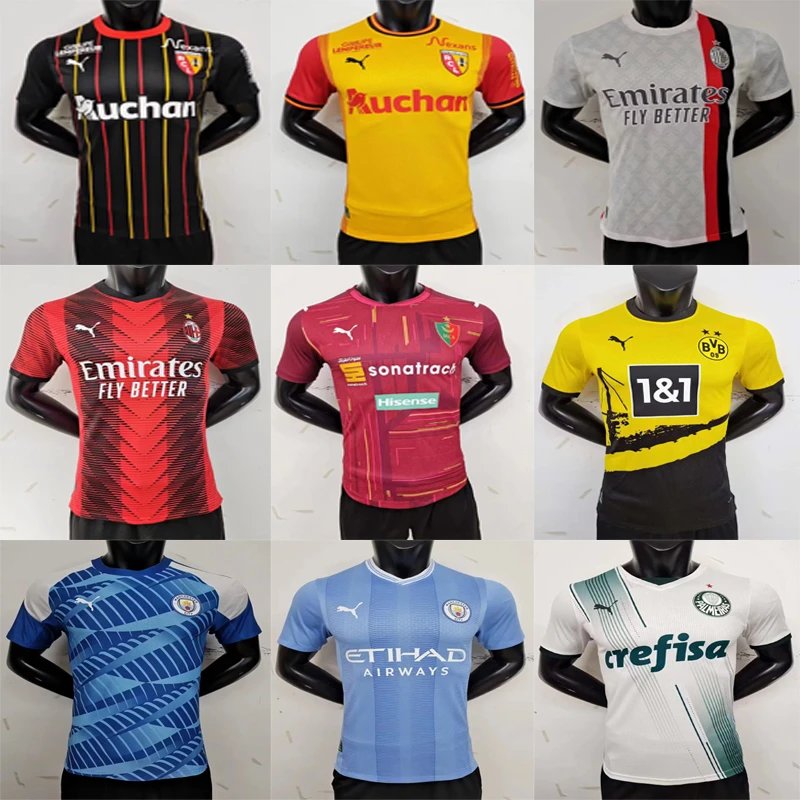
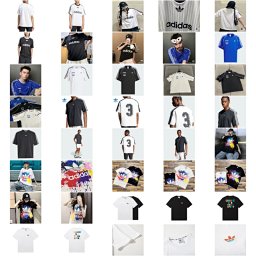
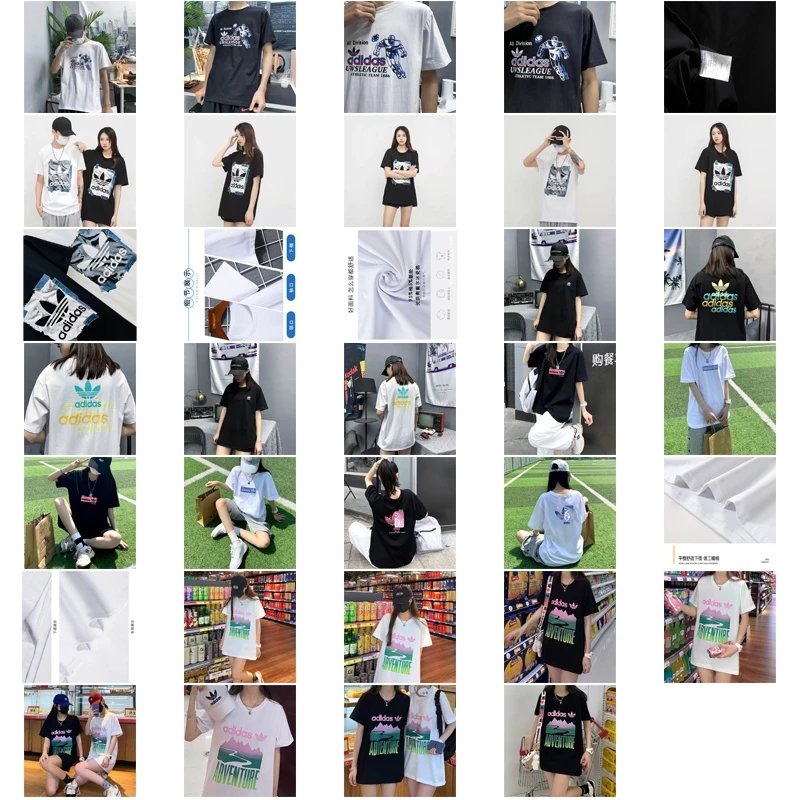
Every OopBuy purchase includes a crucial quality control (QC) checkpoint with detailed photos. This guide will teach you how to expertly analyze these images to identify product flaws and verify key details before
The QC Photo Set: What to Expect
A standard OopBuy QC package typically includes:
- Overall Shots:
- Detailed Close-ups:
- Functional Checks:
- Measurement Shots:
- Flaw Tags:
- Detailed Close-ups:
Step-by-Step Analysis Framework
1. Verify Specifications & Accuracy
Compare the item in the photos against the original product listing
2. Scrutinize for Flaws & Defects
Zoom in on every image. Look for common manufacturing issues:
- Construction:
- Hardware:
- Material Issues:
- Functionality:
- Hardware:
3. Check Measurements
If provided, use the ruler in the photo to confirm critical dimensions. Even small discrepancies can affect fit for clothing or functionality for items like cases.
Making the Decision: Red Light vs. Green Light
| Scenario | Recommended Action |
|---|---|
Minor Flaw
| Likely approve (GL - Green Light). Consider if it affects use or resale value. |
|
Major Flaw
| Request an exchange or refund (RL - Red Light). Contact OopBuy support immediately. |
|
Unclear Detail
| Do not approve.
| |